Details of the Concrete Planter Manufacturing Process
While concrete planter manufacturing may not be considered a high-tech industry, it involves many intricate and detailed steps. Each stage requires careful coordination to ensure both quality and timely delivery. In this article, we will take you through the production process of our GRC planters in detail, giving you an inside look at how we craft each piece with care. Learn more about GRC basics here or check our GRC Planters Guide.
This article is about 1,000 words long and covers a lot of different topics. To help you navigate easily, you can use the links below to jump to specific sections quickly.
We have broken down the process of making the concrete planter into 10 clear and easy-to-follow steps. We hope this guide will be helpful and make your project smoother and more enjoyable.
1. Mold Making
The first step in producing GRC planters is mold making. This crucial step ensures that each planter can be customized according to your specific requirements. Our designers meticulously check the accuracy and stability of the molds based on the design drawings. We use both soft and hard molds, selecting the most appropriate type for each unique design.
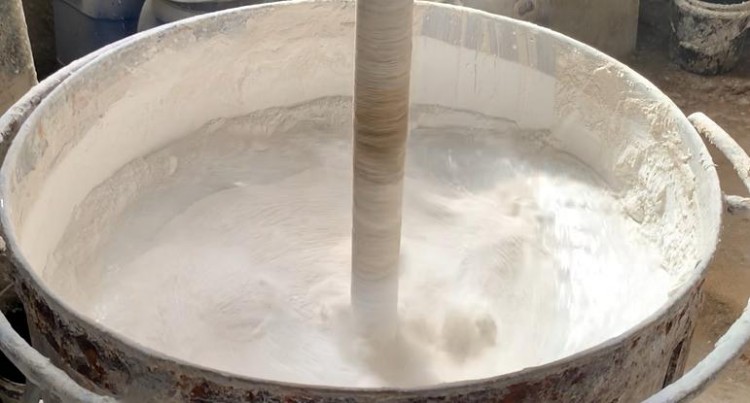
2. Mixing Materials
Next, we carefully mix the raw materials. To ensure the highest quality for our GRC planters, we blend cement, glass fiber, and other reinforcing materials in precise proportions using specialized equipment. This ensures that all materials are thoroughly and evenly distributed. By doing this, we enhance the tensile strength and toughness of the cement, significantly improving the durability of each planter. Learn more about GRC composition at What is GRC?
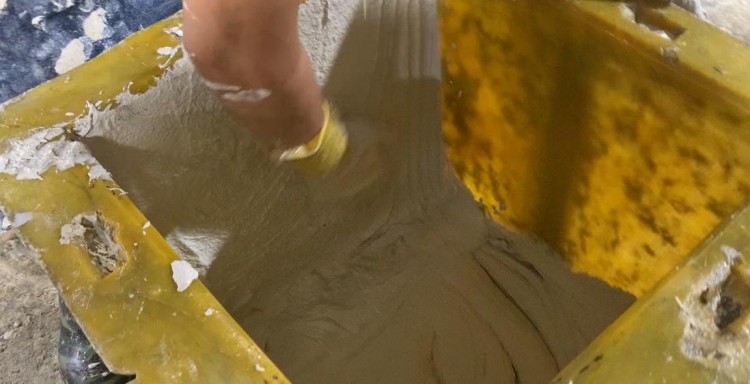
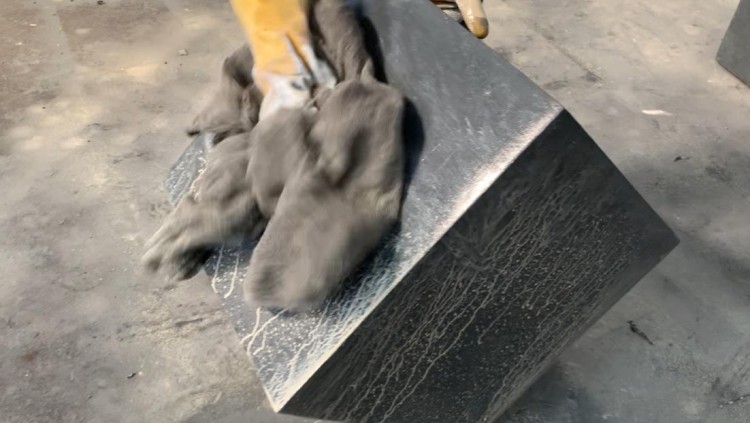
3. Preliminary Shaping
After the material mixing is complete, we move on to the preliminary shaping stage. The mixed GRC material is carefully sprayed into the mold, forming the basic shape of the planter. The material is evenly distributed and securely adhered to the mold, following the design specifications.
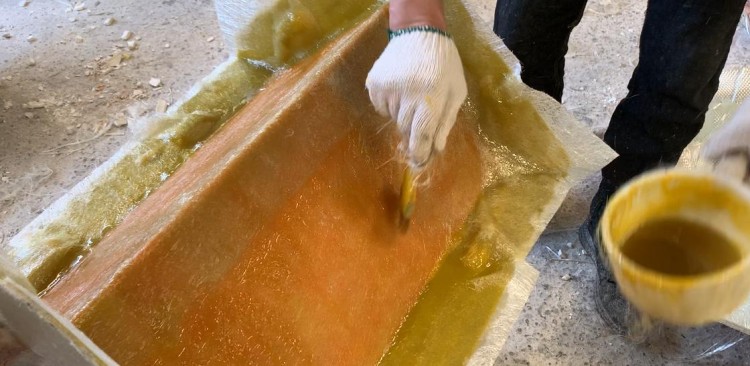
4. Fiberglass Laying
Once the cement base is formed, we begin the fiberglass shaping process. Pre-cut fiberglass cloth or filaments are carefully embedded into both the surface and inner layers of the planter. This step significantly improves the structural strength and crack resistance, especially in challenging weather conditions. By combining fiberglass with cement, we create a strong composite material that makes the planter both lightweight and robust.

5. Cement Shaping
During this step, the cement and fiberglass fully fuse and gradually harden under pressure and careful adjustment. We also give the cement surface an initial polish to make it smoother. This process significantly enhances the strength of the cement and prepares it for the demolding step.
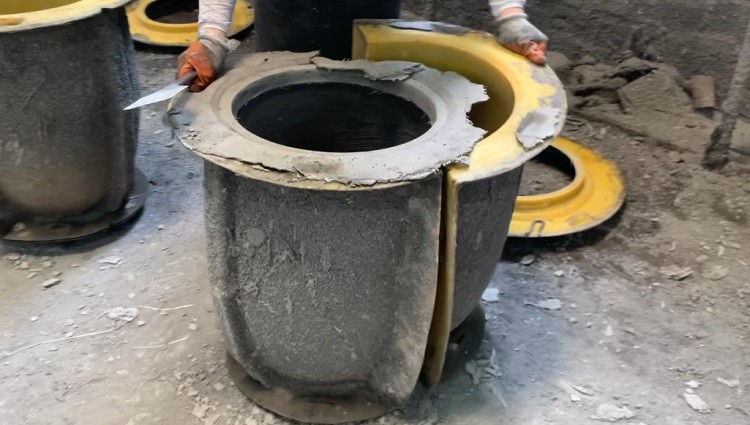
6. Demolding
Once the cement and fiberglass have fully hardened, we carefully remove the planter from the mold using special tools to gently loosen it. This ensures that the planter’s shape remains intact. In this step, the planter has its basic form and structure but still needs some additional processing and trimming to perfect its finish.
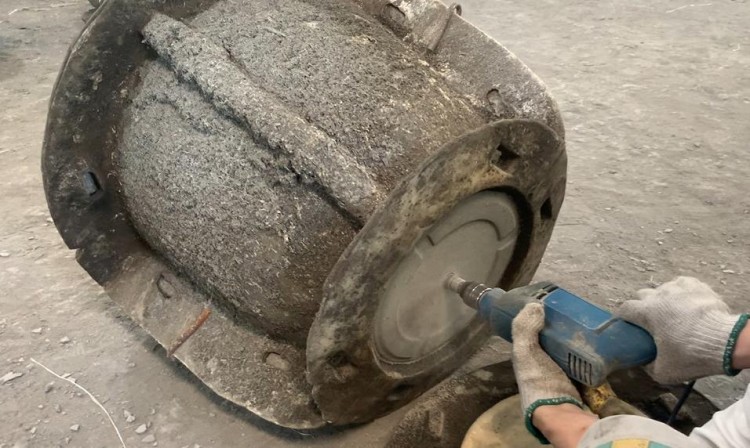
7. Drilling Hole
To ensure excellent drainage, we carefully drill holes at the bottom of the planter. This allows excess water to drain smoothly, preventing water accumulation around the plant's roots and promoting healthy growth. All of our concrete planters come with pre-drilled drainage holes by default. If you have any special requirements or preferences, please feel free to contact us in advance.
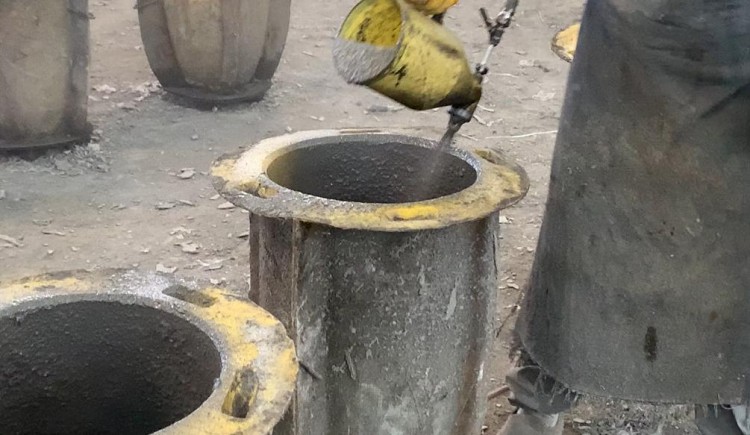
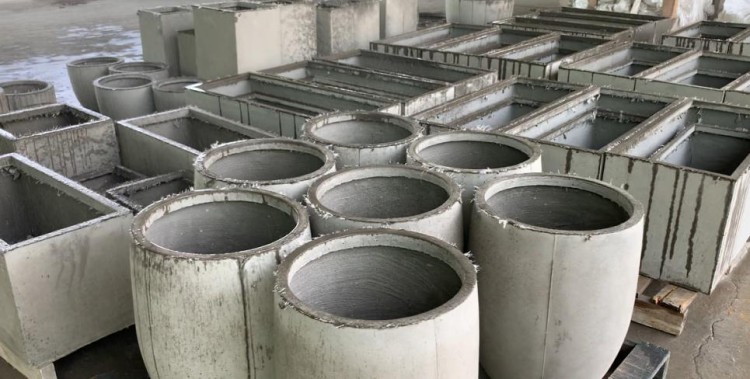
8. Water Treatment
After drilling, we proceed to the water treatment stage. The planter is carefully washed with water to remove any dust and impurities, ensuring a clean and smooth surface. This water washing also helps eliminate excess cement and preserves the delicate texture of the surface. Additionally, this process aids in further curing the concrete surface, enhancing its durability.
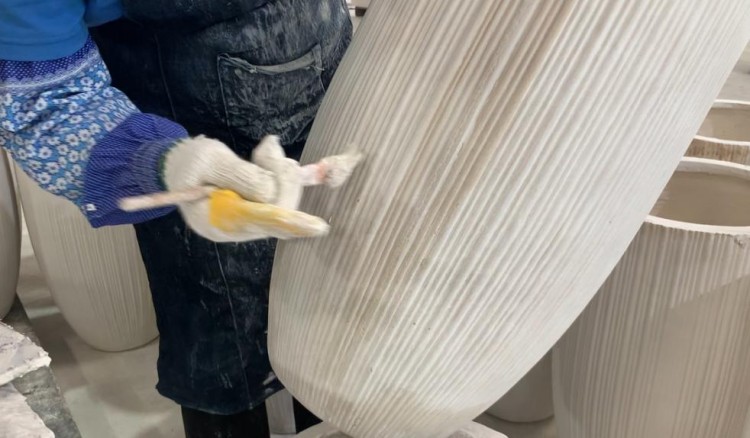
9. Repair and Polishing
Following the water treatment, the planter's surface may need some minor repairs and polishing. Our workers carefully inspect the surface and perform necessary repairs to remove small cracks and bubbles. Polishing ensures the planter has a flawless appearance and a smoother finish.
10. Spraying Process
Finally, we apply a protective coating to the planter. Spraying serves not only to enhance its beauty but also to improve its waterproofness, UV resistance, and weather resistance. We use high-quality, environmentally friendly coatings that are sprayed evenly across the surface. After spraying, the planter is carefully dried and thoroughly quality-checked to ensure the coating is uniform and durable. Discover our sustainability efforts behind these eco-friendly coatings.
Video Introduction
Ready to elevate your product line with Ronglin GRC planters? Explore our GRC Planters Guide or contact us for custom solutions and ODM/OEM services.